
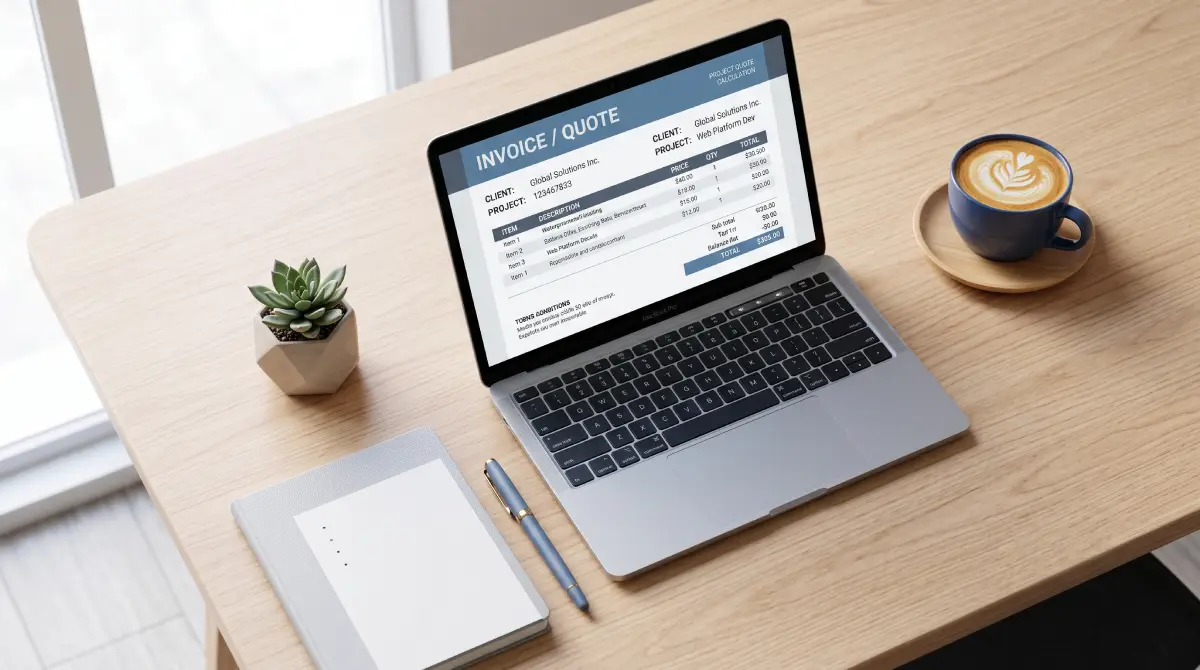
Learning how to invoice clients as a freelancer is less about designing a beautiful document and more about building a repeatable payment process. A clear invoice tells the client what was delivered, what they owe, when payment is due, and how to pay. A clear process makes sure you send it on time and follow up when necessary.
Legal invoice requirements and taxes vary by country, so this guide focuses on the universal operational structure. Check the rules that apply where you and your business are based.
Before you invoice: agree the commercial terms
The easiest invoice to collect is one that does not surprise the client. Before work begins, confirm the scope, price, currency, billing schedule, due date, included revisions, and the person responsible for approving payment.
Our freelance client onboarding checklist covers the broader setup before a project starts.
What every freelance invoice should make clear
- Your name or business name and contact details.
- The client’s billing name and contact details.
- A unique invoice number.
- The invoice date.
- The payment due date.
- A clear description of the work or deliverables.
- Quantity, hours, units, or milestone where relevant.
- Rate or agreed project amount.
- Subtotal and total due.
- Taxes or other legally required fields where applicable.
- Currency.
- Payment instructions.
- Any agreed purchase-order or reference number.
Step 1: Choose a simple invoice numbering system
Use a sequence you can maintain. For example, 2026-001, 2026-002, and so on. Do not reuse numbers. Consistent numbering makes records easier to search and helps prevent confusion when a client asks about an older payment.
Step 2: Describe the work in client language
Write line items the way the client recognizes the project. “Landing page design — final delivery” is clearer than “design services.” If the job was hourly, show the period and hours. If it was fixed-price, show the milestone or deliverable.
Step 3: Show the due date, not just vague terms
If you agreed on 14-day or 30-day terms, include the actual calendar date. A specific date is easier for both you and the client to track than a phrase that requires calculation.
Step 4: Make payment instructions easy to follow
State the accepted payment method and the information the client needs to complete it. If different methods create different fees or currency outcomes for you, understand those costs before deciding which options to offer.
Step 5: Send the invoice promptly
Do not let completed work sit unbilled. Send the invoice at the agreed milestone, completion point, or billing date. Delaying the invoice usually delays the cash too.
Step 6: Send it to the right person
The person who approved the work may not be the person who processes invoices. Ask for the correct billing email, finance contact, purchase order, or vendor portal before the invoice becomes urgent.
Step 7: Track the invoice status
| Status | Meaning | Next action |
|---|---|---|
| Draft | Not sent yet | Review and send |
| Sent | Client received it | Wait until reminder date |
| Due soon | Payment date approaching | Optional polite reminder |
| Overdue | Due date passed | Follow up |
| Paid | Money received | Reconcile and close |
Step 8: Follow up on overdue invoices consistently
Keep follow-up factual and professional. Reference the invoice number, amount, due date, and payment instructions. If there is a dispute, separate it from the rest of the relationship and resolve the specific point blocking payment.
Hourly, fixed-price, and milestone invoices
Hourly work
Show the period, hours, rate, and enough description for the client to understand what the time covered. Keep time records behind the invoice in case clarification is needed.
Fixed-price projects
Reference the agreed project or deliverable and the amount due. If the job changed, document the approved scope change rather than quietly increasing the invoice.
Milestone billing
For longer projects, invoicing at agreed stages can reduce the gap between doing the work and receiving cash. Use the project quote calculator when estimating the overall job, then define how that total will be split across milestones.
Connect invoicing to cash flow
An invoice is not cash until it is paid. Track outstanding invoices separately from money already in the account, especially if your income is irregular. Our freelance finance guide explains how to combine invoices, expenses, and monthly planning.
Common freelance invoicing mistakes
- Starting work before price and payment terms are clear.
- Using inconsistent invoice numbers.
- Sending vague line items.
- Forgetting the actual due date.
- Sending the invoice to the wrong contact.
- Waiting too long after completion to invoice.
- Failing to track outstanding invoices.
- Ignoring payment-processing costs when choosing a payment method.
A simple freelance invoice example
Imagine you completed a fixed-price website project for $1,200. A clear invoice might show: invoice number 2026-018, issue date October 15, due date October 29, client billing details, one line item reading “Website design and final delivery,” subtotal $1,200, any required tax fields for your jurisdiction, total due, currency, and payment instructions. If the client already paid a deposit, show the agreed total, the deposit already received, and the remaining balance clearly.
The point is not the exact format. The client should be able to answer four questions instantly: Who sent this? What is it for? How much is due? When and how do I pay?
A practical late-payment follow-up schedule
Your schedule should match the relationship and local rules, but having a predefined sequence is better than improvising under stress.
- Before the due date: send a short reminder if the client commonly needs internal processing time.
- On or just after the due date: confirm the invoice number, amount, due date, and payment instructions.
- Several days overdue: ask whether there is a specific issue blocking approval or payment.
- Persistently overdue: follow the escalation process allowed by your contract and local law, and pause additional unpaid work when appropriate.
Keep every message factual. Avoid turning a payment follow-up into a debate about the entire client relationship.
Pre-send invoice checklist
- Invoice number is unique.
- Client legal or billing name is correct.
- Work description matches the agreement.
- Hours, quantities, or milestone are accurate.
- Currency and total are obvious.
- Due date is a real calendar date.
- Payment method and required details are included.
- Tax fields are correct for your jurisdiction, if applicable.
- Purchase order or client reference is included when required.
- The invoice is being sent to the person or system that actually processes payment.
This final check takes less than two minutes and can prevent a much longer delay caused by a missing detail.
Frequently asked questions
When should a freelancer send an invoice?
Send it at the billing point you agreed before the project: upfront deposit, milestone, completion, or recurring billing date. The important rule is consistency.
What payment terms should freelancers use?
There is no universal best term. Choose a period that fits the project, client type, and local practice, and agree it before work begins. Always show the actual due date on the invoice.
Do freelancers need invoicing software?
Not always. A consistent template can work for a small number of clients, but software becomes useful when you need recurring invoices, payment tracking, reminders, reporting, or bookkeeping integration. See our financial software comparison for freelancers.
Final takeaway
A professional freelance invoice is a clear payment request inside a repeatable system. Agree the terms first, include the essential details, send it promptly, track the due date, and follow up consistently. The process matters as much as the document.